Privacy Mode in Flowace allows users to temporarily pause activity tracking, ensuring privacy when needed. Here’s how admins can enable it for users and how users can activate it on their desktop application.
Step 1: Enabling Privacy Mode in the Admin Settings
Log in to the Flowace Admin Dashboard:
Open the Flowace Admin Dashboard using your login credentials.
Go to Member Settings:
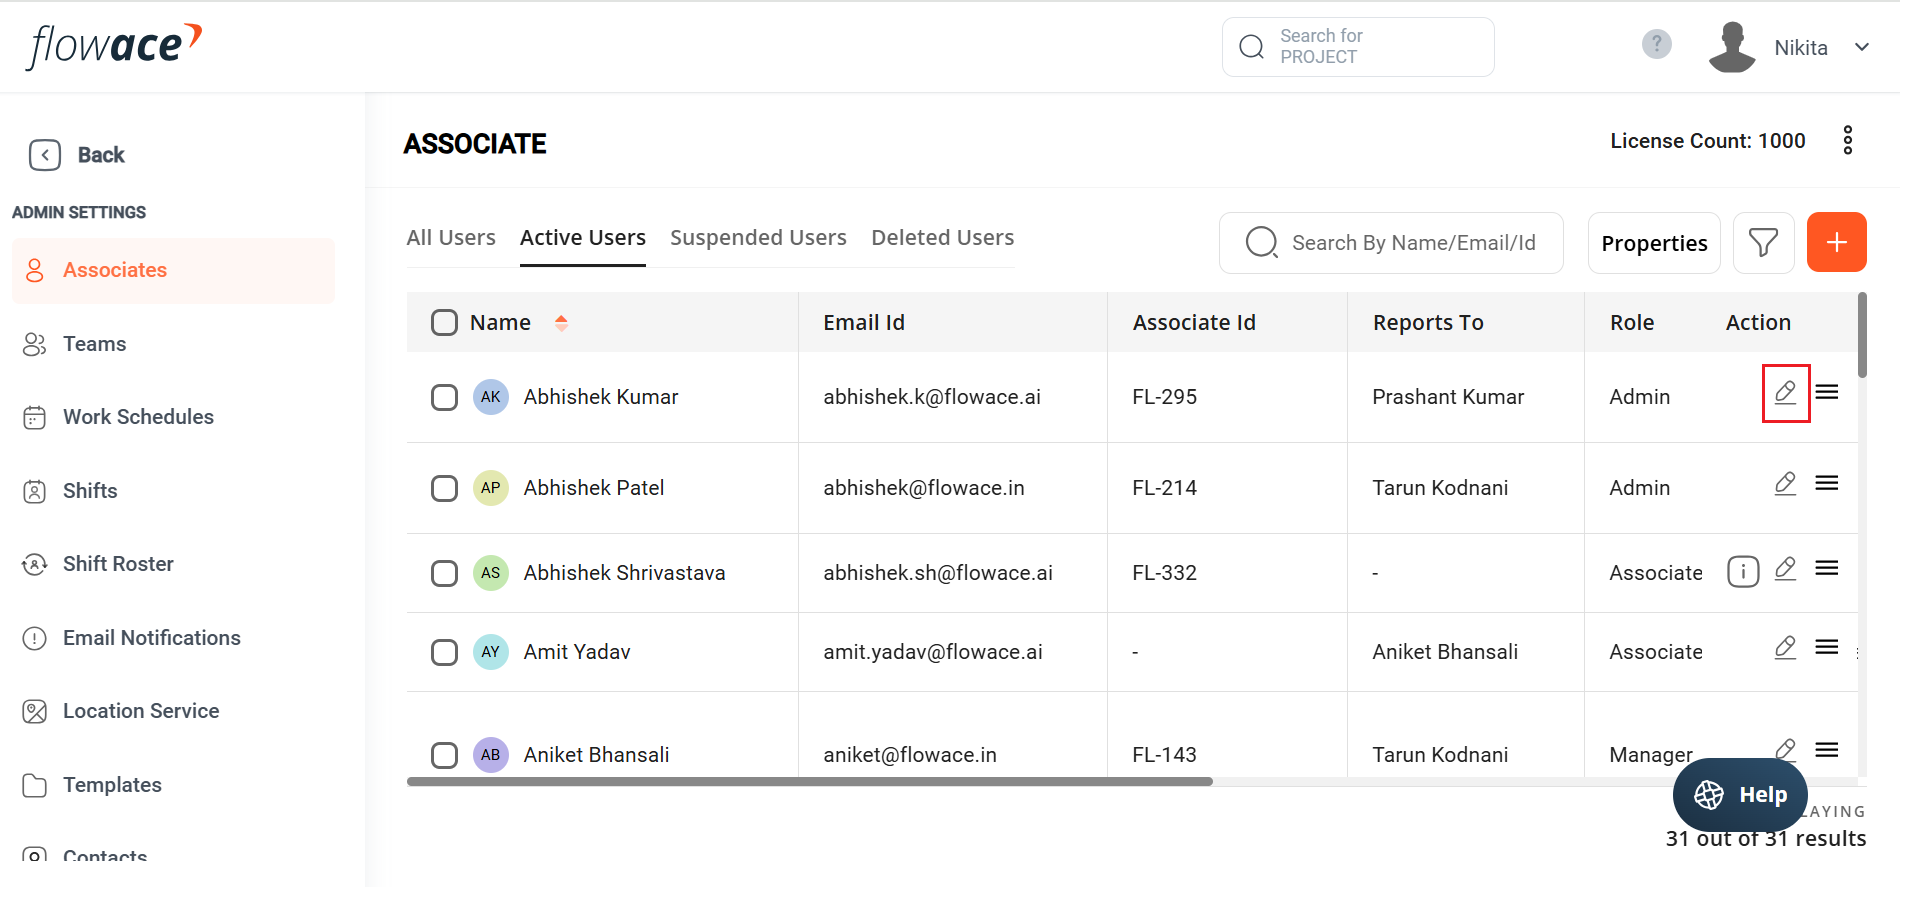
Navigate to the Member Dashboard where the list of users will be displayed.
Edit Permissions:
Find the user for whom you want to enable Privacy Mode.
Click on the Edit button next to their name to open their settings.
Enable Privacy Mode
In the settings menu, scroll down to the Permissions section.
Locate the Privacy Mode dropdown option.
Click on the dropdown and check the box to enable Privacy Mode for this use
Save Changes:
After enabling Privacy Mode, make sure to save your changes.
Turning on Privacy Mode from the Windows Desktop Application
Once Privacy Mode is enabled in the admin settings, users can easily turn it on from the desktop application:
Open the Flowace Desktop Application:
Launch the Flowace application on your Windows desktop.
Activate Privacy Mode:
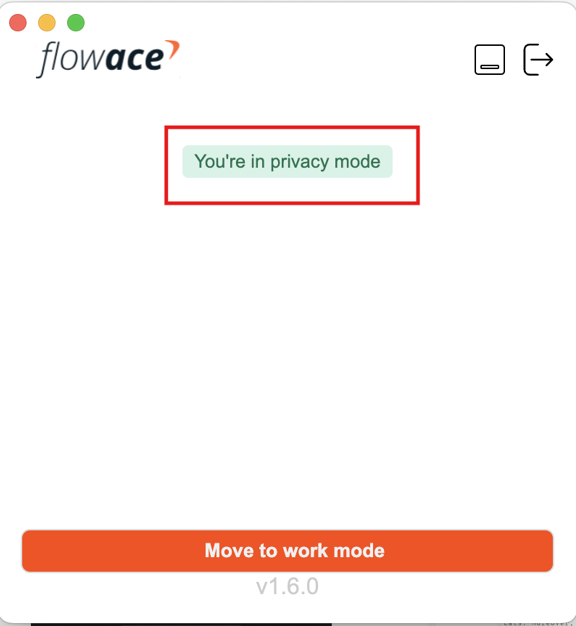
In the application interface, look for the Privacy Mode toggle or button.
Click to turn on Privacy Mode when you need to pause tracking.
Turn off Privacy Mode:
When ready to resume tracking, click the toggle again to turn off Privacy Mode.
Turning on Privacy Mode from the Mac Desktop Application
Turning on Privacy Mode from the Ubuntu Desktop Application